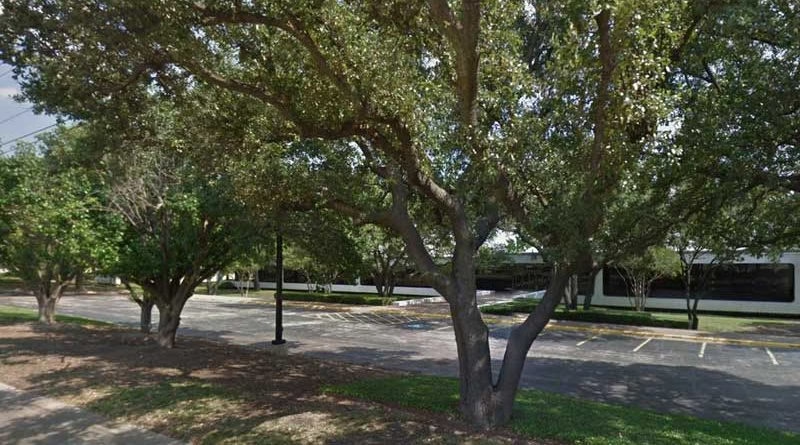
About Marcrell’s Tree Service Tree Care Experts.
When it comes to maintaining the health, beauty, and safety of your landscape, Marcell’s Tree Service stands out as the premier choice.
With a steadfast commitment to excellence and a deep-rooted passion for trees, we have emerged as the ultimate tree care experts that you can rely on.
Our range of services, backed by years of experience, innovative techniques, and a dedicated team, ensures that your trees receive the utmost care and attention they deserve.
In this article, we delve into the unparalleled offerings of Marcell’s Tree Service and how we can elevate your outdoor space to new heights.
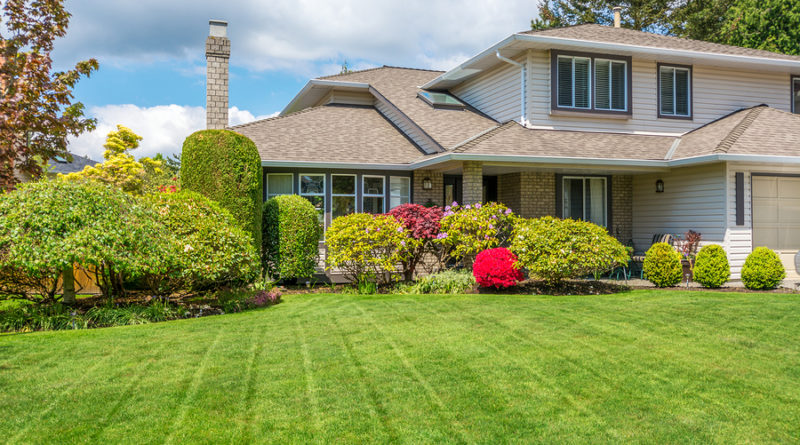
The Marcell’s Difference
Quality That Shines Through
At Marcell’s Tree Service, our dedication to providing top-tier quality in every aspect of tree care sets us apart from the competition.
We understand that your landscape is a reflection of your aesthetic preferences and environmental consciousness.
This is why we focus on delivering services that not only enhance the visual appeal of your surroundings but also promote the health and longevity of your trees.
Expertise Rooted in Experience
With a wealth of experience spanning decades, our team of arborists brings a profound understanding of tree biology, growth patterns, and potential issues.
This expertise allows us to diagnose problems accurately and devise targeted solutions that address the root cause, ensuring effective and lasting results.
Our arborists remain updated with the latest industry advancements, guaranteeing that your trees are treated with the most modern and effective techniques available.
About Marcrell’s Tree Service Our Services
Tree Health Evaluation and Care
Understanding that healthy trees are the foundation of a vibrant landscape, we offer health care evaluations and tailored care plans for each tree under our watchful eye.
Our experts meticulously inspect each tree, identifying signs of disease, infestations, or stress.
Subsequently, we design customized care strategies that include pruning, fertilization, and disease management to restore and maintain optimal health.
Tree Pruning and Shaping
Pruning is both an art and a science, and our arborists excel in both aspects.
Through strategic pruning, we enhance the aesthetics of your trees while promoting proper growth and structural integrity.
Our team ensures that each cut is deliberate, serving to eliminate dead or hazardous branches, enhance sunlight penetration, and encourage new growth.
Tree Removal with Precision
While we prioritize the preservation of trees whenever possible, there are instances when removal becomes necessary for safety reasons.
Our professionals execute tree removals with surgical precision, utilizing advanced equipment and techniques to minimize impact on your property.
We also offer stump grinding services to ensure that the remnants of removed trees do not mar the beauty of your landscape.
Emergency Tree Care
Nature is unpredictable, and storms can wreak havoc on your property, leaving trees damaged or uprooted.
Marcell’s Tree Service offers 24/7 emergency tree care to promptly address such situations. Our rapid response team assesses the damage, takes immediate action to prevent further harm, and restores safety to your property.
Customer-Centric Approach
Transparent Communication
We believe in fostering trust and transparency in every interaction.
From the initial consultation to the completion of a project, our team communicates openly with clients, providing insights into the condition of their trees.
The proposed treatments, and the expected outcomes. This ensures that you are empowered to make informed decisions about your landscape.
Tailored Solutions About Marcrell’s Tree Service
Every landscape is unique, and we acknowledge the individual needs of each client. Our solutions are tailored to suit your specific goals, budget, and preferences.
We take the time to understand your vision and incorporate it seamlessly into our services, delivering results that exceed expectations.
Elevate Your Landscape with Marcell’s Tree Service
In a world where landscapes are extensions of personal identity, Marcell’s Tree Service emerges as your dedicated partner in cultivating outdoor splendor.
With a commitment to quality, expertise, and customer-centricity, we bring unrivaled excellence to every tree care project.
Elevate your landscape today by entrusting your trees to the caring hands of Marcell’s Tree Service.
If you’re ready to experience the transformative power of professional tree care, contact us today for a consultation.
Conclusion
Your landscape deserves the best care, and that’s precisely what Marcell’s Tree Service offers. Our comprehensive range of services, backed by experience, expertise, and a customer-centric approach, positions us as the leaders in tree care. Whether you’re looking to enhance the beauty of your surroundings, ensure the health of your trees, or address emergencies, our team is here to serve you.
Serving Louisville, Jeffersontown, St. Matthews. Also, Shelbyville, Fern Creek, Shively, and surrounding cities.
We are fully insured, with workers comp. So, you can rest assured that your property is safe while we are on the job.
We have all of the latest equipment. The crew has been trained by the best in the business. On all tree removal safety procedures.
Our promise to you. Is that we can fully complete any tree removal, tree trimming, or stump removal project. Quickly, safely, and affordable.
About Marcell’s Tree Service
We promise you that all of our tree services are second to none. Also, we back that up with our 200% Guarantee.
For a free estimate, Call Garry Marcell now at 502-245-8733